1. Drawing
I drew up a pattern using a mask outline, so I knew where the eyes and the edges of the face would be. I then went in darker and drew in the mask details. If I can draw it, I can needle felt it. Once the pencil drawing was completed, I showed it to my co-worker and he liked it.


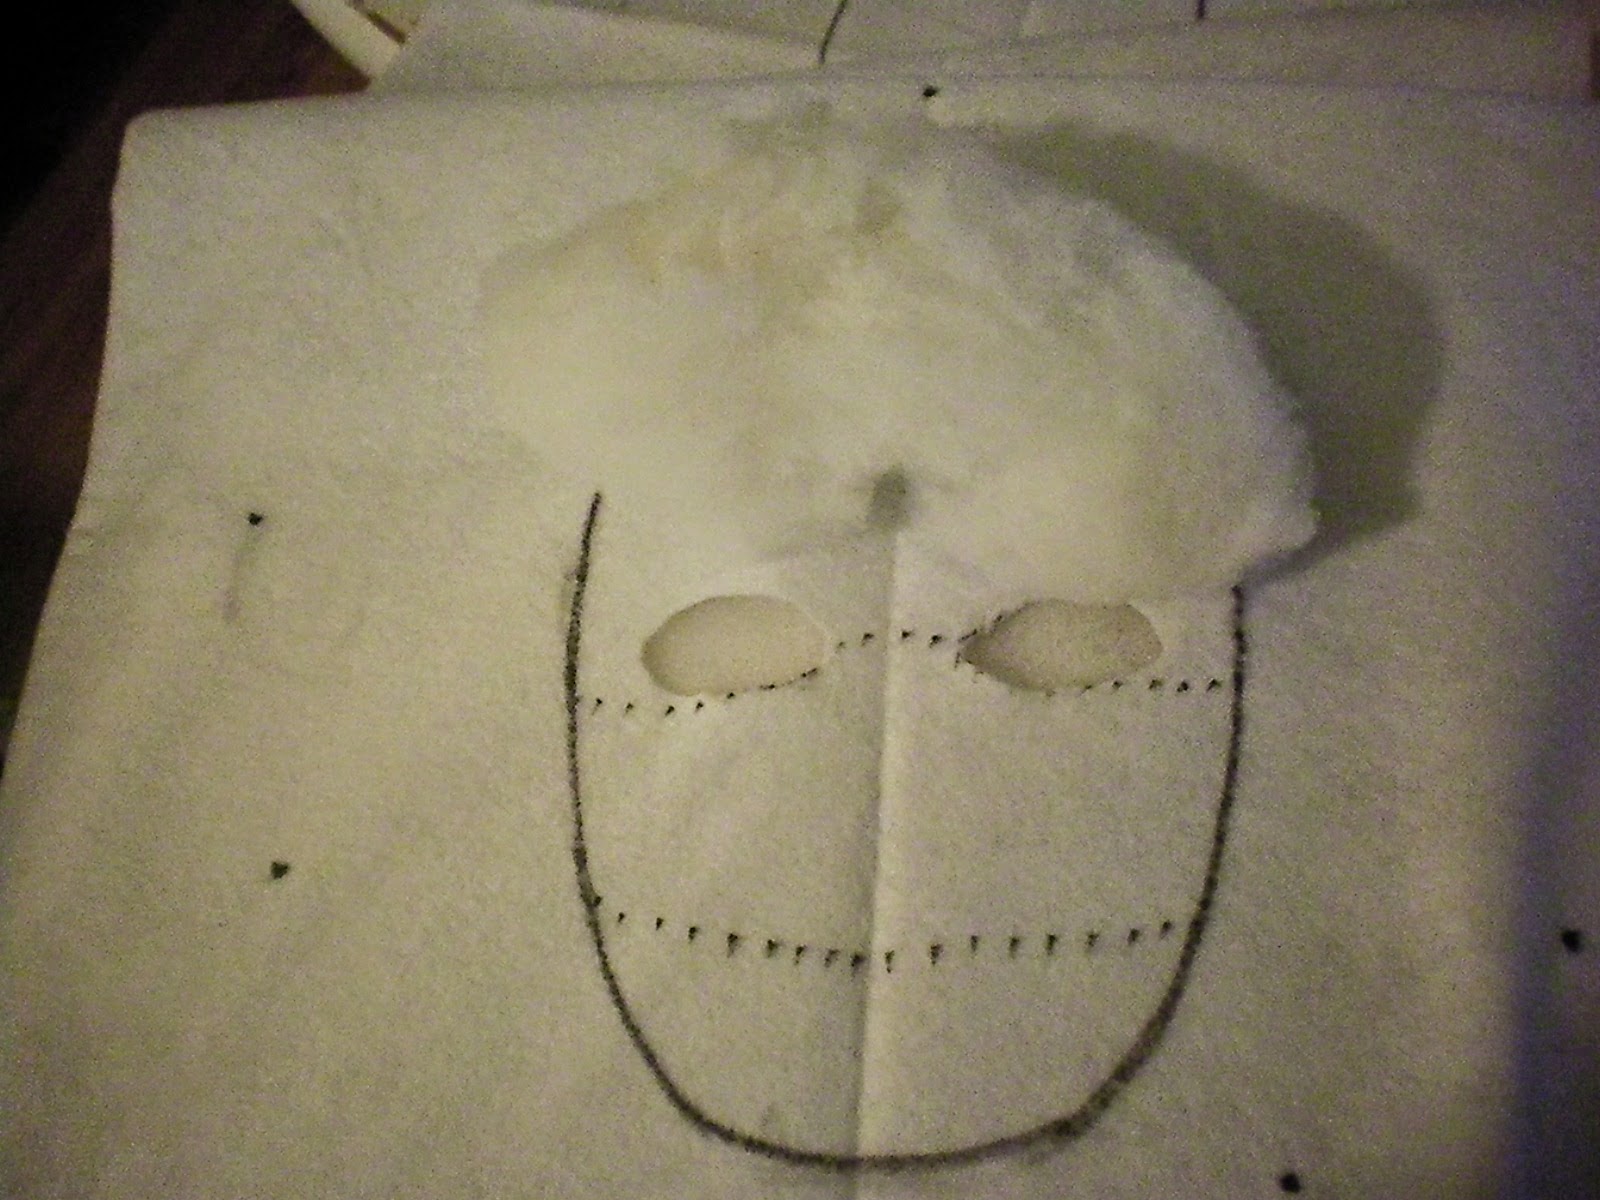
2. Preparing Pre-felt
Once the dimensions were correct, I pulled out a large piece of pre-felt. I drew dots in specific spots along the outlines, but no solid lines except for the basic mask outline.

Since it was going to be a full-head mask, I did not cut off the excess pre-felt from the top of what was to be my mask. Instead, I left it long to make the top seamless. I only wanted to have to sew and felt the sides to fit the wearer.
3. Forming the basics
I started within the mask outline. I wanted to make sure the area around the eyes and mouth were solid and hard before moving outside the outline. I wanted to create as much ventilation as possible, since an enclosed wool mask can become warm quickly from constant breathing. I left the entire mid section of the mask uncovered, and decided that I would make a thin mouth piece later on and bring it off the face.


I then created the lens for the character's goggles. I have pictured below before and after...

4. Forming the Character
Next, I began a basic outline of what would soon become the mouth. I wanted to give the wearer as much ventilation as possible, so I decided to add the mouth last and have it come off of the face. I also began to position the goggles and nose pieces, as well as beginning to extend the head to the shape of the character.


I didn't want the wearer to see through the "eyes" of the character... it would have distorted the mask and image of the character. Instead, I decided to hide the true eye holes directly below the goggles, to give a shadow appearance. I felted a layer of black fabric in front to hide the true eyes of the wearer. The wearer can see out, but others cannot see in.


After the eyes were felted, I began to form the character's head... sort of reminded me of a football shape. I continuously checked my reference photos to make sure I was getting the shapes and positioning the goggles, nose and ears in the correct place. I also, created a simple toothy grin that would be added towards the end of the process. The helmet was the most difficult part. Too low and it would look like I was squishing the face, too high and the character would not look like the reference photos.


5. COLOR!!!
My favorite part. I bought my mom's colored wool and got started. The browns were tricky to match, but she did it and it made it look just that much more realistic. I used a variegated green wool for the goggles, dark brown for the ears and bridge of the nose, and tan mixed with dark brown for the whiskers and chin. Now, to complete the goggles...


I used a dark red wool and wet-felted cords out of them. The cords were then wrapped around the lens and felted/ sewed to it. The goggles were then sewn to the mask and I then worked on the helmet. I used grey and the red. Since this was a full head mask, I had to be creative on how I was going to make it as one piece.

Some head measurements, eye shadow, white wool, and pink wool later, the mask was completed. I sewed the sides together and the whiskers hide the seam. The mouth was sewn in and I wet-felted a gold cord for the final touch... Zigg's earring.


This was definitely a learning experience, and it encouraged me to go further than I have ever gone before. This piece was my first commission, and the owner was very pleased with it. I can now add full-head mask to my commission list.
Rebecca
No comments:
Post a Comment