Tuesday, December 9, 2014

Toothless Mask

I have always loved dragons, and when I saw How to Train Your Dragon, I fell in love with Toothless.... who wouldn't.

I just saw How to Train Your Dragon 2, and I decided that for Metrocon 2015 I am going to cosplay Toothless, using a handmade mask. I decided to go extra-large with this mask, and I might need a baseball cap to keep it on my head.

Since the mask is going to be coming off my face quite a bit, I decided to look through the top of the mask head. I hope this was a good choice... experimentation at its finest!
I started out by drawing the face mask outline, so I knew where to put my edges, then I looked at pictures of Toothless and drew a rough sketch of what I wanted onto the felt. I began to needle felt around the eye hole, not quite sure what I was going to do with it at the moment.


Once I took care of the basic shape of the top of the head, I needed to create the depth of the head itself. This was a bit tricky, taking a 2-D drawing and translating it into a 3-D model. I added a large amount of wool core to the area below the eye hole to start off.
 
I had to envision the top section connecting to the bottom section with an imaginary line. Once this was done, I continued to mold the mask into the basic shape of Toothless' head. 


I decided to take a different route for the eyes. I normally would use wool and just make the eyes, but I decided to experiment again and cover half circle Styrofoam pieces with modeling clay and paint the eyes. Toothless has really beautiful eyes, and the paint and textures used helped to create the realistic effect.
 
 
Handful after handful of wool later, I finally had the shape I was looking for. I had to cave in the areas for the eyes to be placed into the mask, and it also doubled as a perfect brow-line for the mask. The eye holes were covered with a black see through fabric, so it will blend in with Toothless' black body. Scale-like patterns will be added to distract the eye as well as his bright eyes.
 
The only problem...... how to keep the eyes in the mask???

Black wool everywhere!!
I have started covering my mask, leaving the eye sockets, back, and perimeter uncovered. I decided to not use any of the wool I bought for mask making. Instead, I am using wool that I bought from my mom. I needed it for an earlier project, but knew I would use it later on this mask.


I would love to add a wool and cheesecloth texture that I saw in one of my mom's scarves... might be the eye catcher it needs to make it rememberable.

Finally got the core wool covered with wool and the I decided to create a piece of felt for the ears. The felt was wrapped around some wire, so I could bend them and keep them standing if I wanted. With those attached, all thats left to add are the eyes and to tighten my mask completely.

Still not 100% sure how my eyes will stay, or how I am going to get them in, but I have until June to figure it out.


Monday, September 1, 2014

Metro Con 2014 mask

My co-worker saw my small collection of needle felted masks that I have made over the past two years and asked me if I would make one for him for an upcoming Anime and Comic convention called Metro Con 2014. We agreed on a price and I got started. He wanted a character from League of Legends called Ziggs.

1. Drawing

I drew up a pattern using a mask outline, so I knew where the eyes and the edges of the face would be. I then went in darker and drew in the mask details. If I can draw it, I can needle felt it. Once the pencil drawing was completed, I showed it to my co-worker and he liked it.


2. Preparing Pre-felt

Once the dimensions were correct, I pulled out a large piece of pre-felt. I drew dots in specific spots along the outlines, but no solid lines except for the basic mask outline.


Since it was going to be a full-head mask, I did not cut off the excess pre-felt from the top of what was to be my mask. Instead, I left it long to make the top seamless. I only wanted to have to sew and felt the sides to fit the wearer.


3. Forming the basics
 
I started within the mask outline. I wanted to make sure the area around the eyes and mouth were solid and hard before moving outside the outline. I wanted to create as much ventilation as possible, since an enclosed wool mask can become warm quickly from constant breathing. I left the entire mid section of the mask uncovered, and decided that I would make a thin mouth piece later on and bring it off the face.


I then created the lens for the character's goggles. I have pictured below before and after...
 
 
4. Forming the Character
 
Next, I began a basic outline of what would soon become the mouth. I wanted to give the wearer as much ventilation as possible, so I decided to add the mouth last and have it come off of the face. I also began to position the goggles and nose pieces, as well as beginning to extend the head to the shape of the character.


I didn't want the wearer to see through the "eyes" of the character... it would have distorted the mask and image of the character. Instead, I decided to hide the true eye holes directly below the goggles, to give a shadow appearance. I felted a layer of black fabric in front to hide the true eyes of the wearer. The wearer can see out, but others cannot see in.


After the eyes were felted, I began to form the character's head... sort of reminded me of a football shape. I continuously checked my reference photos to make sure I was getting the shapes and positioning the goggles, nose and ears in the correct place. I also, created a simple toothy grin that would be added towards the end of the process. The helmet was the most difficult part. Too low and it would look like I was squishing the face, too high and the character would not look like the reference photos.


5. COLOR!!!
 
My favorite part. I bought my mom's colored wool and got started. The browns were tricky to match, but she did it and it made it look just that much more realistic. I used a variegated green wool for the goggles, dark brown for the ears and bridge of the nose, and tan mixed with dark brown for the whiskers and chin. Now, to complete the goggles... 


I used a dark red wool and wet-felted cords out of them. The cords were then wrapped around the lens and felted/ sewed to it. The goggles were then sewn to the mask and I then worked on the helmet. I used grey and the red. Since this was a full head mask, I had to be creative on how I was going to make it as one piece.


Some head measurements, eye shadow, white wool, and pink wool later, the mask was completed. I sewed the sides together and the whiskers hide the seam. The mouth was sewn in and I wet-felted a gold cord for the final touch... Zigg's earring.


This was definitely a learning experience, and it encouraged me to go further than I have ever gone before. This piece was my first commission, and the owner was very pleased with it. I can now add full-head mask to my commission list.
 
Rebecca 


Tuesday, February 4, 2014

Krazy Birdz

Ever since I was small, I have loved to create. Now, every time I pick up a pencil, pen, or paint brush, I pour my heart into my art. I always put a little bit of myself into everything I create.

It all started with a tuff of wool, a barbed needle, and a book on needle felting... my first ever needle felted creation was a mouse. I was so excited and I wanted to continue to create. I have given life to two alpacas, two pigs, a frog, an owl, and two sheep. These tiny creations were fun, but I felt like I could do more... I wanted to go BIGGER!!

My first giant creation was my Krazy Birdz. He took me three months to complete, because I wanted him to be perfect. He actually started as a drawing, colors and all, and I took the liberty of taking pictures of the process.


Once I sketched a small version of what I wanted, I drew him bigger and added color. It took a while to figure out what colors were going to go where, and I wanted him to be as colorful as possible.


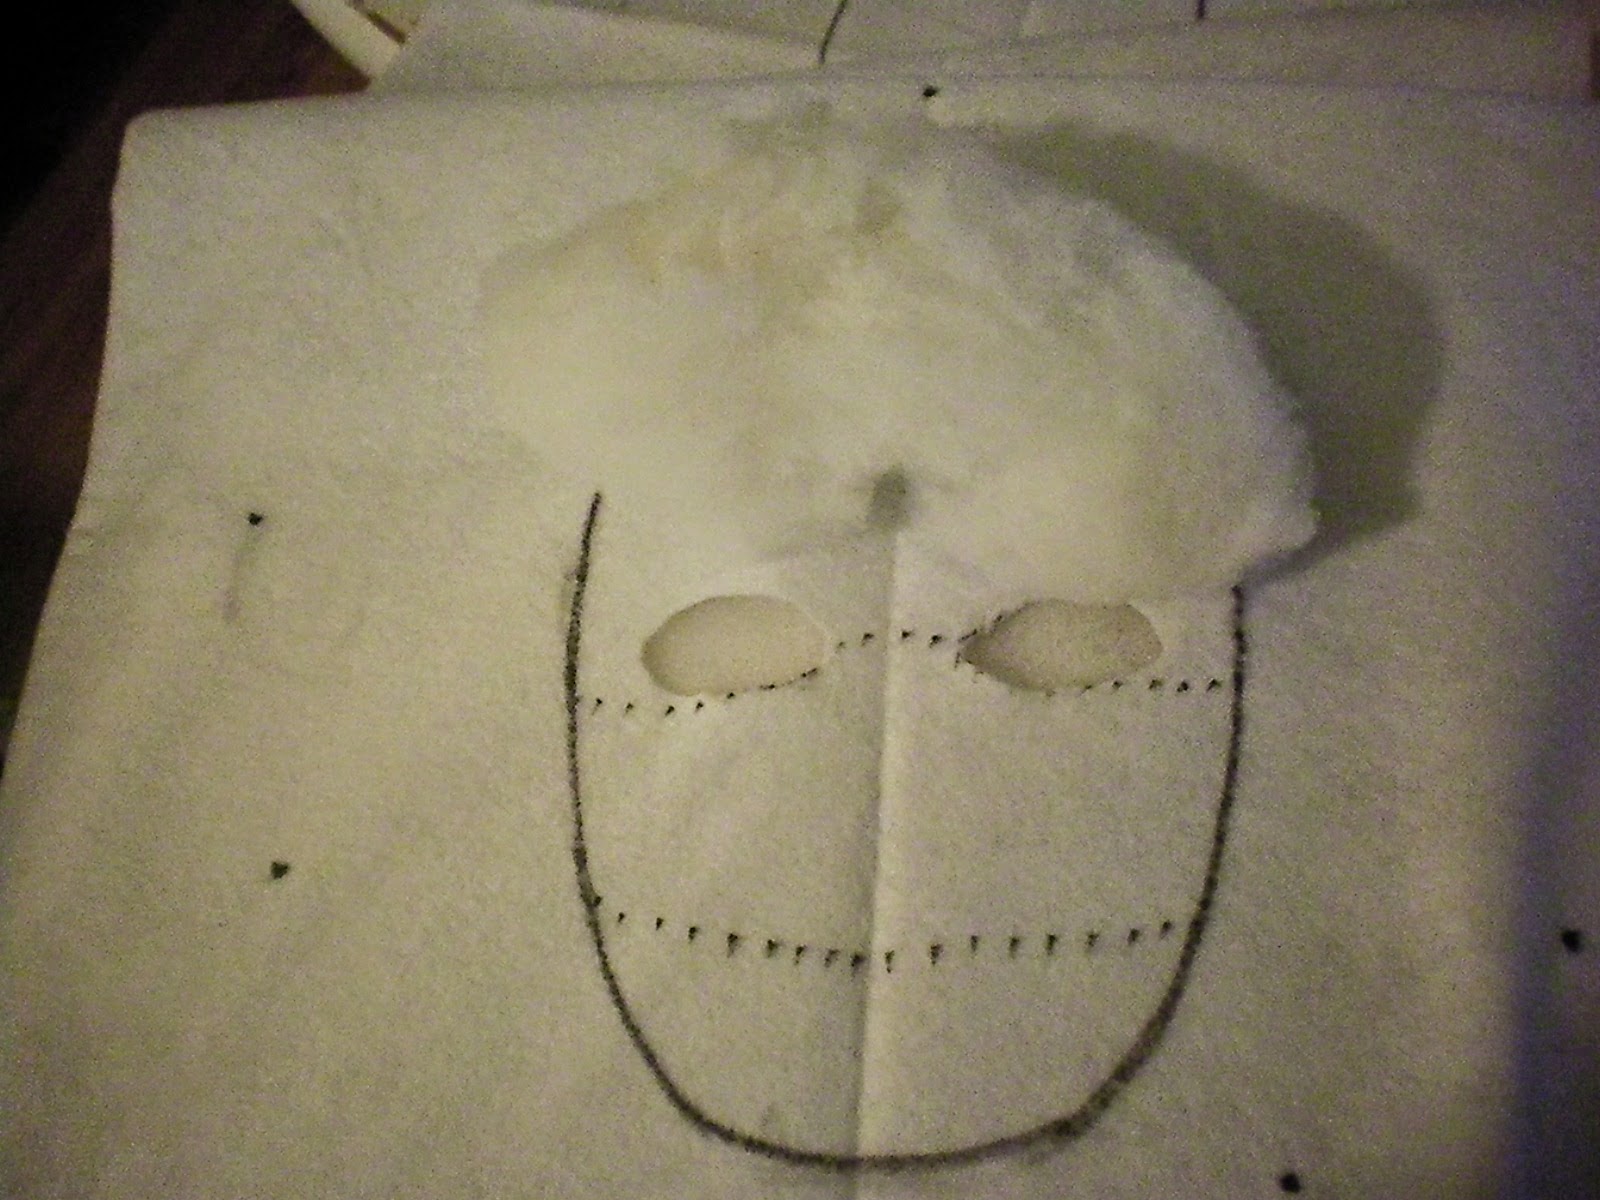
After sketching and coloring, I picked up a needle felting needle, a piece of foam, and a handful of core to begin shaping my Birdz head and beak. Once I had the basic shapes; two circles, a triangle, and a square, I continued to felt. Once the shapes were felted together, I began to shape them even more, to create two eyes, a head with cheeks, and a long beak.

 
I then created the feet. I wanted something simple, but still recognizable as feet, so I went with a classic two-toe in the front, one-toe in the back cartoon bird approach. Too many toes would not have made him look cuter, so I went with the least amount possible. The idea turned out to be PERFECT!! All I did to create these feet was roll a bit of core to make a long tube. Once that tube was nice and hard after needle felting, I pulled more core and rolled it into a smaller, shorter tube and attached it about mid-way on the larger tube. To make it symmetric, I felted the feet and shaped them to make one piece.


The body of my Birdz was ENORMOUS!! It started out flat and once I had needle felted enough, I began to shape it into a sphere. Instead of making it one big solid piece of wool (which would have depleted all of my current core at the time) I decided to fill him with fiber fill. He is firm, but not solid, which made him just right for a hug.
 
I made his proportions extreme, to add a kind of cartoonish look.


Now, the fun part, adding color. I found the colors from my sketch almost down to the exact shades and began to cover the core. I started with the beak, a turquoise blue with an orange-yellow nose. The head and eye lids were to be red, and I covered and tightened. Once the core was completely covered, I continued with the details.


I found white wool to finish the eyes, then I grabbed a handful of black wool to start on the pupils and irises. Once a basic outline had been formed, I added a mixture of green-blue and baby blue to give his eyes a life-like look, finishing off with white glares and a black outline around the entire eye. Next, the nostrils were added and the nose was also outlined in black to help make the colors pop, and not blend and disappear within one another. As for the beak, it was a long and hard decision on what to do. At first, the beak was going to remain solid, with no lines, but then, I added lines to the drawing and it looked amazing. A small smirk finishes off the lazy-eyed expression.


The hairdo for my big guy was fun to create, because I did not want it to be small like it was in the drawing. I picked out a couple shades of pink and began to pull pieces and laying them down in a circle. Once I added enough "volume" to the doo, I took my needle and felted only the center of the circle to connect all of the fibers, without compromising the volume and craziness of the hair. I placed the hair on my Birdz and felted it tightly onto his head. Once I could pull on the hair without it coming out, I knew it was time to style it. I cupped it in my hands and pulled up to create an afro-looking doo. As I shaped the hair, I took tuffs of fiber and needle felted it into the areas that seemed to be light or thin.


When coloring his body, I started with his bright yellow belly. I needle felted a sheet before attaching it to the core, to ensure full coverage. Once it was firm, I outlined once again with black wool and added a V where the his chest would be. The V also helped me align his head later on. As for the rest of the body, I needle felted as I went. I added wool as I felted and sat for hours in front of the television, just poking a big ball of fluff. It took me a couple of days, but he was nearly finished.


The feet were last, and I decided to make them purple. I spent a couple minutes covering these, since they were the smallest part of the project.


Using the V on his chest, I aligned and attached my Birdz head. Once his head was on straight and there was no way it would fall off, I attached his feet.

Now, it was time to cover the body with some big fluffy wings. He may be too big to fly, but that does not mean he can't show off. I decided to keep the tops of the wings the same color as the body, but to break it up, I added some navy blue towards the tips. To create this effect, I laid out the wool intended for the wings and needle felted the tips of one end together. This end was the part that I attached to my Birdz body. Once the wing was felted to keep it together, I added a couple tuffs of blue on top, towards the ends and lightly felted it onto the wings. I made sure not to poke through the bottom, which is the part of the wing that you can see in the picture, so I would not have blue tuffs all over the wing. Once I was sure the blue was secure, I flipped it over and attached it to my Birdz.


The only thing left to do was attach a small tuff of green wool to his butt, and make sure his head, feet, and wings were secured to his body. His tail was done in the same manner as his hair, just a smaller tuff.


He amazes everyone who has seen him.
I am still blown away at the fact that I turned a 2-D image into a 3-D masterpiece!!
 
 
My mom decided she wanted her very own Krazy Birdz, so I drew one up and she told me the colors she wanted it to be. It now sits in her fiber workshop and greets her when she walks in. The only difference in creating this Birdz, was the fact that I wet-felted the dreads for the hairdo.


Rebecca